
DIY Concrete Repair: Tips from York's Leading Experts


Understanding the Basics of Concrete Repair
Concrete is a durable and versatile material, but over time, it can develop cracks, chips, and other signs of wear. Whether it's a driveway, patio, or basement floor, addressing these issues promptly can prevent further damage. In this guide, York's leading experts share their top tips for DIY concrete repair, ensuring you have the knowledge to tackle these projects with confidence.
Identifying the Type of Damage
The first step in any concrete repair project is identifying the type of damage. Common issues include surface cracks, structural cracks, and spalling. Surface cracks are typically cosmetic and don't affect structural integrity, while structural cracks can indicate deeper problems. Spalling occurs when the surface layer of concrete peels away. Understanding the type of damage will help you choose the right repair method.
Gathering the Right Tools and Materials
Before you begin your repair, gather all necessary tools and materials. For most concrete repairs, you'll need a wire brush, chisel, hammer, trowel, and a concrete mix or patching compound. It's essential to have these items ready to ensure a smooth repair process. Additionally, wearing protective gear like gloves and safety glasses is crucial to avoid injury.
Preparing the Damaged Area
Preparation is key to a successful concrete repair. Start by cleaning the damaged area thoroughly to remove any dirt, debris, or loose concrete. Use a wire brush or pressure washer for extensive cleaning. Once clean, use a chisel and hammer to undercut the edges of the crack or damaged area slightly. This will help the new concrete adhere better.
Mixing and Applying the Concrete
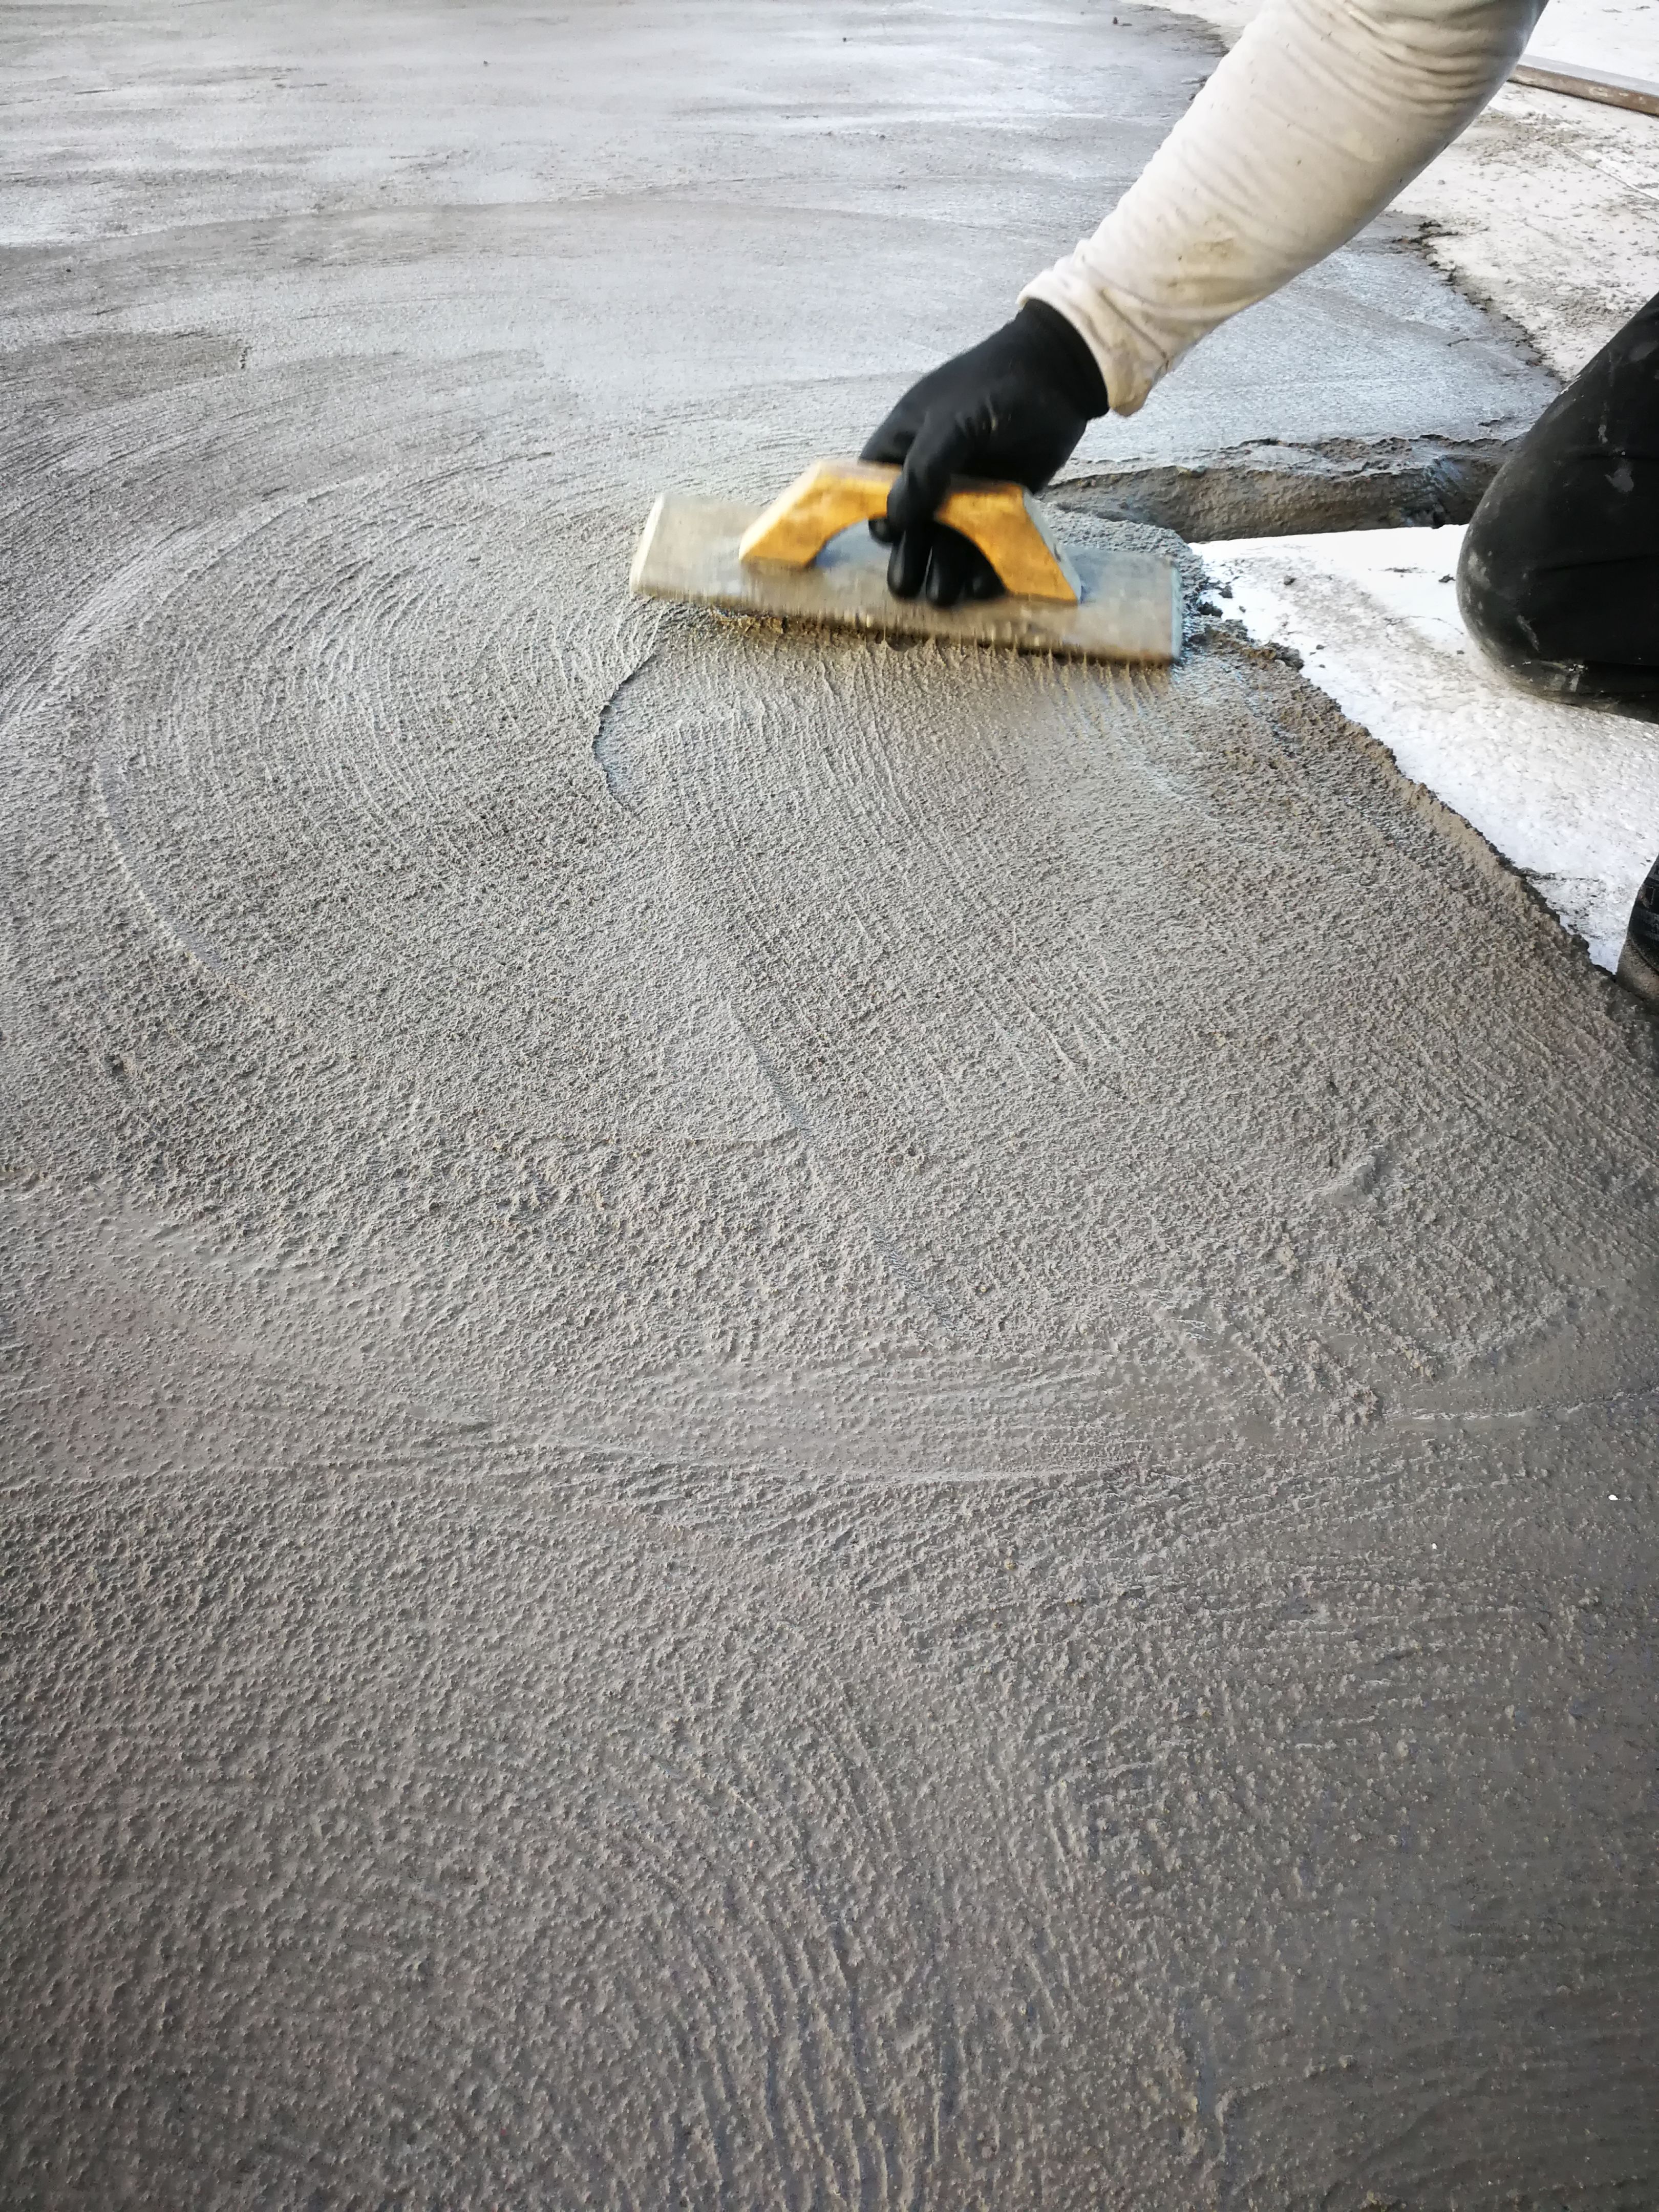
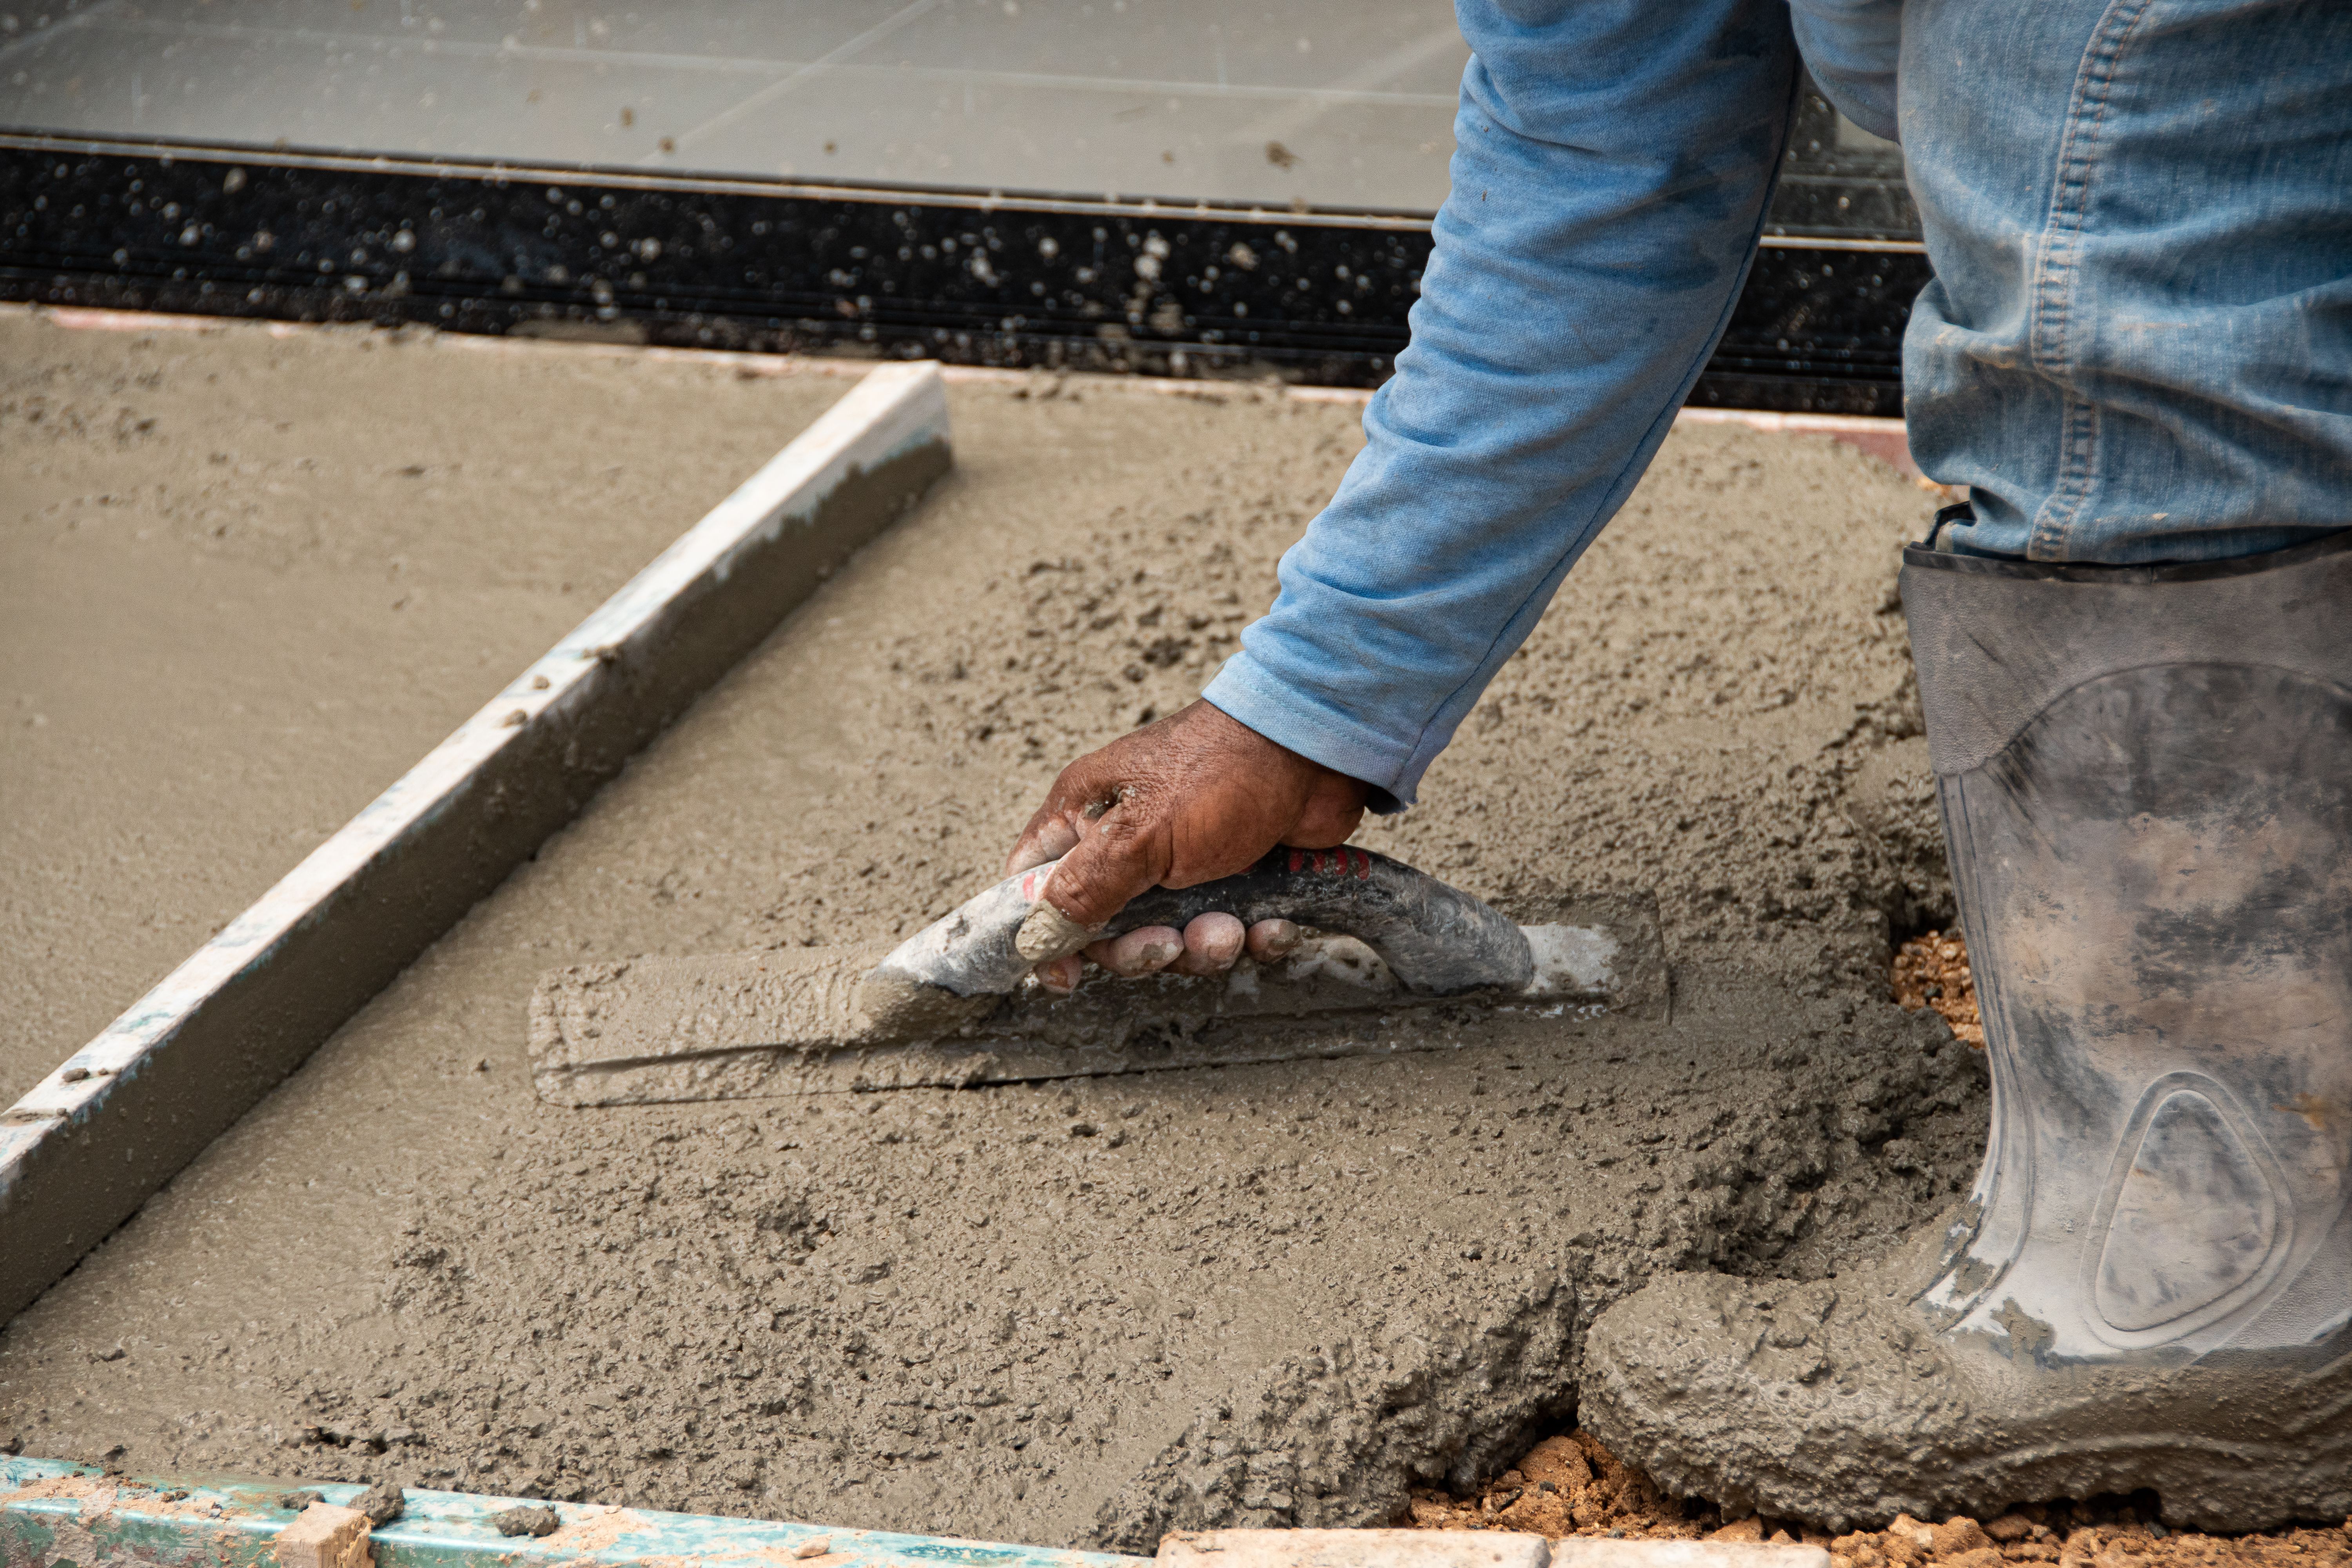
Next, mix your concrete or patching compound according to the manufacturer's instructions. The consistency should be thick enough to stay in place but pliable enough to fill all gaps and cracks. Use a trowel to apply the mixture, pressing it firmly into the damaged area. Smooth out the surface with the trowel or a float to achieve a uniform finish.
Curing and Finishing Touches
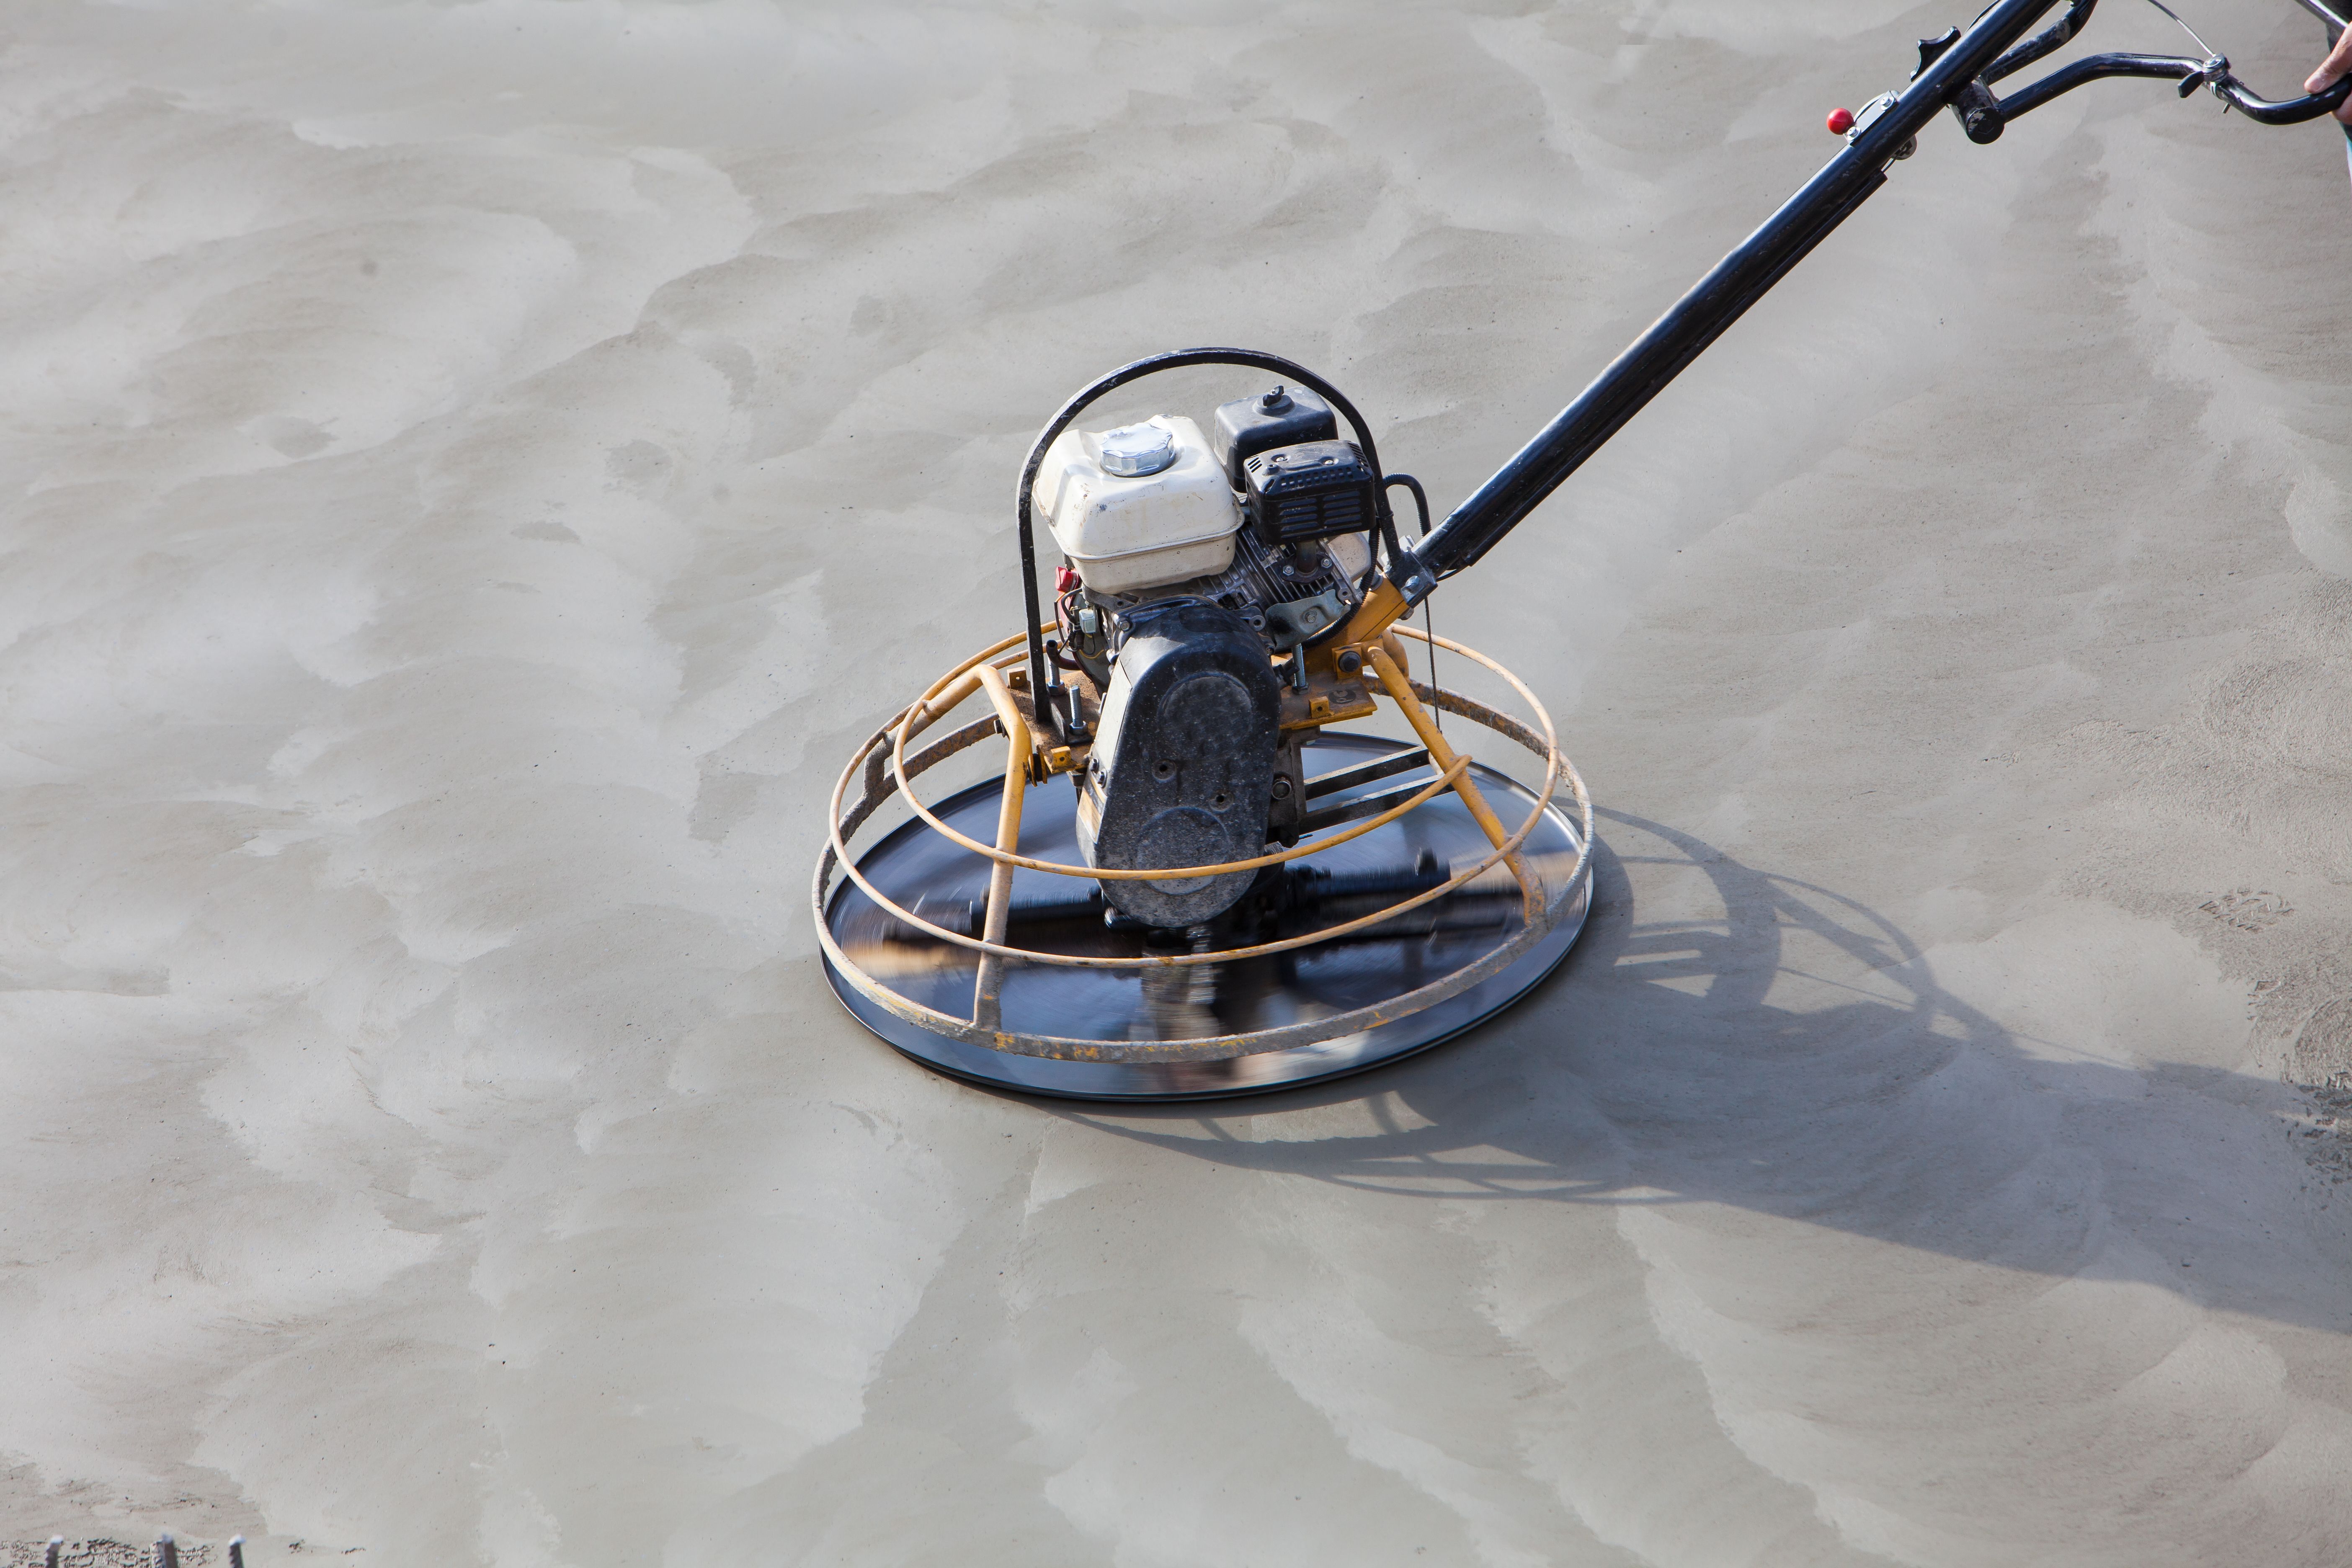
Curing is a critical step in ensuring your repair lasts. Cover the repaired area with plastic sheeting or a damp cloth to retain moisture during the curing process. This usually takes 24 to 48 hours, depending on the product used and environmental conditions. Once cured, you can add finishing touches like sealing the surface to protect against future damage.
Preventing Future Damage
Prevention is always better than cure. To minimize future concrete damage, consider applying a sealant to protect against moisture penetration and freeze-thaw cycles. Regular maintenance, such as cleaning and inspecting your concrete surfaces for early signs of wear, can also extend their lifespan.
By following these expert tips from York's leading professionals, you can effectively manage and maintain your concrete surfaces. With a bit of effort and attention to detail, DIY concrete repair can be a rewarding project that enhances your home's durability and appearance.