
DIY Concrete Repair Tips for Homeowners in Ontario


Understanding the Basics of Concrete Repair
Concrete is a durable and versatile material used in many aspects of home construction. However, over time, even the best-laid concrete can develop cracks or surface damage. For homeowners in Ontario, learning how to perform basic concrete repairs can save time and money. In this guide, we’ll cover some essential tips to help you tackle these repairs yourself.
Before diving into DIY concrete repairs, it’s important to assess the damage accurately. Small cracks and surface spalling can often be fixed with simple materials and tools. However, larger structural issues may require professional intervention. Always ensure you have the right tools and safety gear before starting any repair project.
Tools and Materials You'll Need
For most concrete repair tasks, you'll need a few basic tools and materials. Here's a list to get you started:
- Chisel and Hammer: For removing loose concrete.
- Wire Brush: To clean the repair area.
- Concrete Patch or Filler: A premixed compound for filling cracks.
- Trowel: For applying and smoothing the patch.
- Safety Gear: Gloves, goggles, and dust mask.
Having these items on hand will make your repair job easier and more efficient. Be sure to read the instructions on any product you use, as application methods can vary.
Step-by-Step Guide to Repairing Cracks
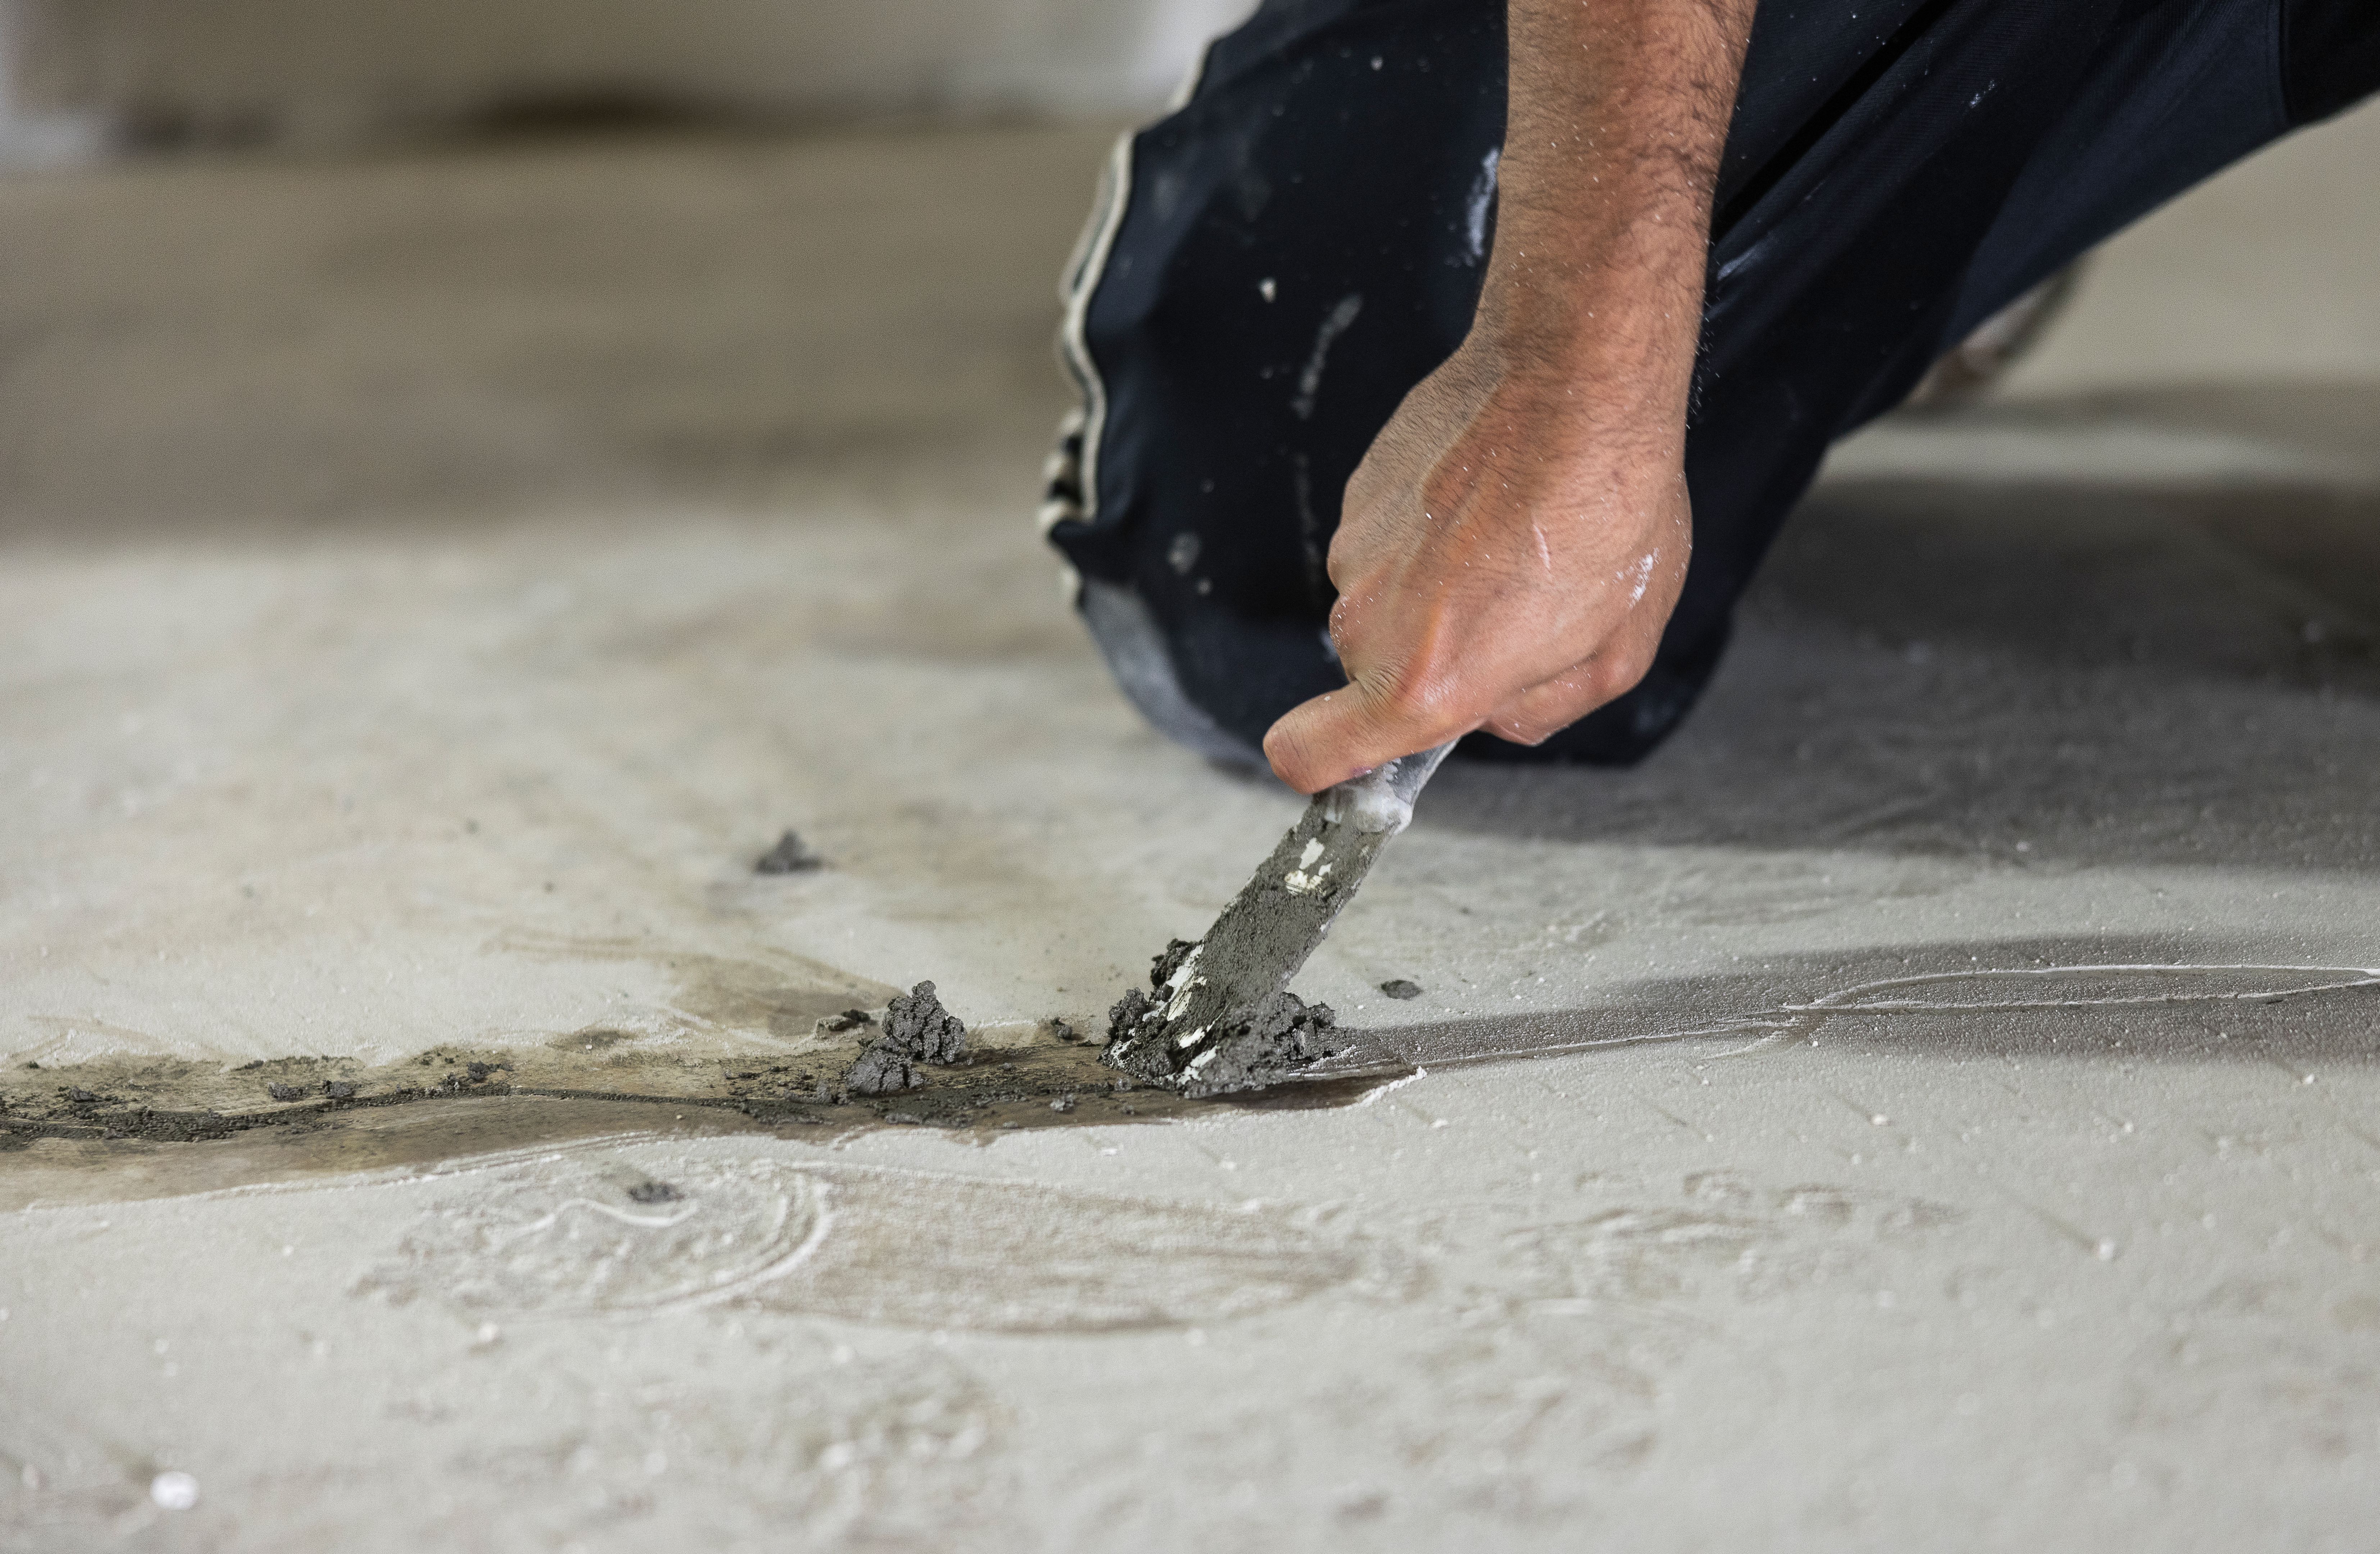
Repairing cracks in concrete is a straightforward process if you follow these steps:
- Clean the Area: Use a wire brush to remove any debris from the crack. This ensures that the patch adheres properly.
- Prepare the Patch: Mix your concrete patch according to the manufacturer's instructions.
- Apply the Patch: Use a trowel to fill in the crack, ensuring that it is completely covered.
- Smooth the Surface: Feather the edges of the patch with your trowel to blend it with the surrounding concrete.
- Cure the Patch: Allow it to dry as per the product guidelines before subjecting it to any stress.
Tackling Surface Spalling
Surface spalling occurs when the top layer of concrete flakes away due to freeze-thaw cycles or poor finishing. To fix this issue, begin by cleaning the area thoroughly. Next, apply a resurfacing compound that is designed for spalled concrete. This will not only repair the surface but also provide a protective layer against future damage.
Ensure that you mix the resurfacer well and apply it evenly using a squeegee or a trowel. Work in small sections to avoid uneven drying. The goal is to create a smooth, consistent surface that restores both function and appearance.
Preventive Measures for Long-Lasting Concrete
Once you've repaired your concrete, take steps to prevent future damage. Regular maintenance is key. Seal your concrete surfaces every couple of years to protect them from moisture penetration and wear. Additionally, avoid using de-icing chemicals that can cause deterioration during winter months.
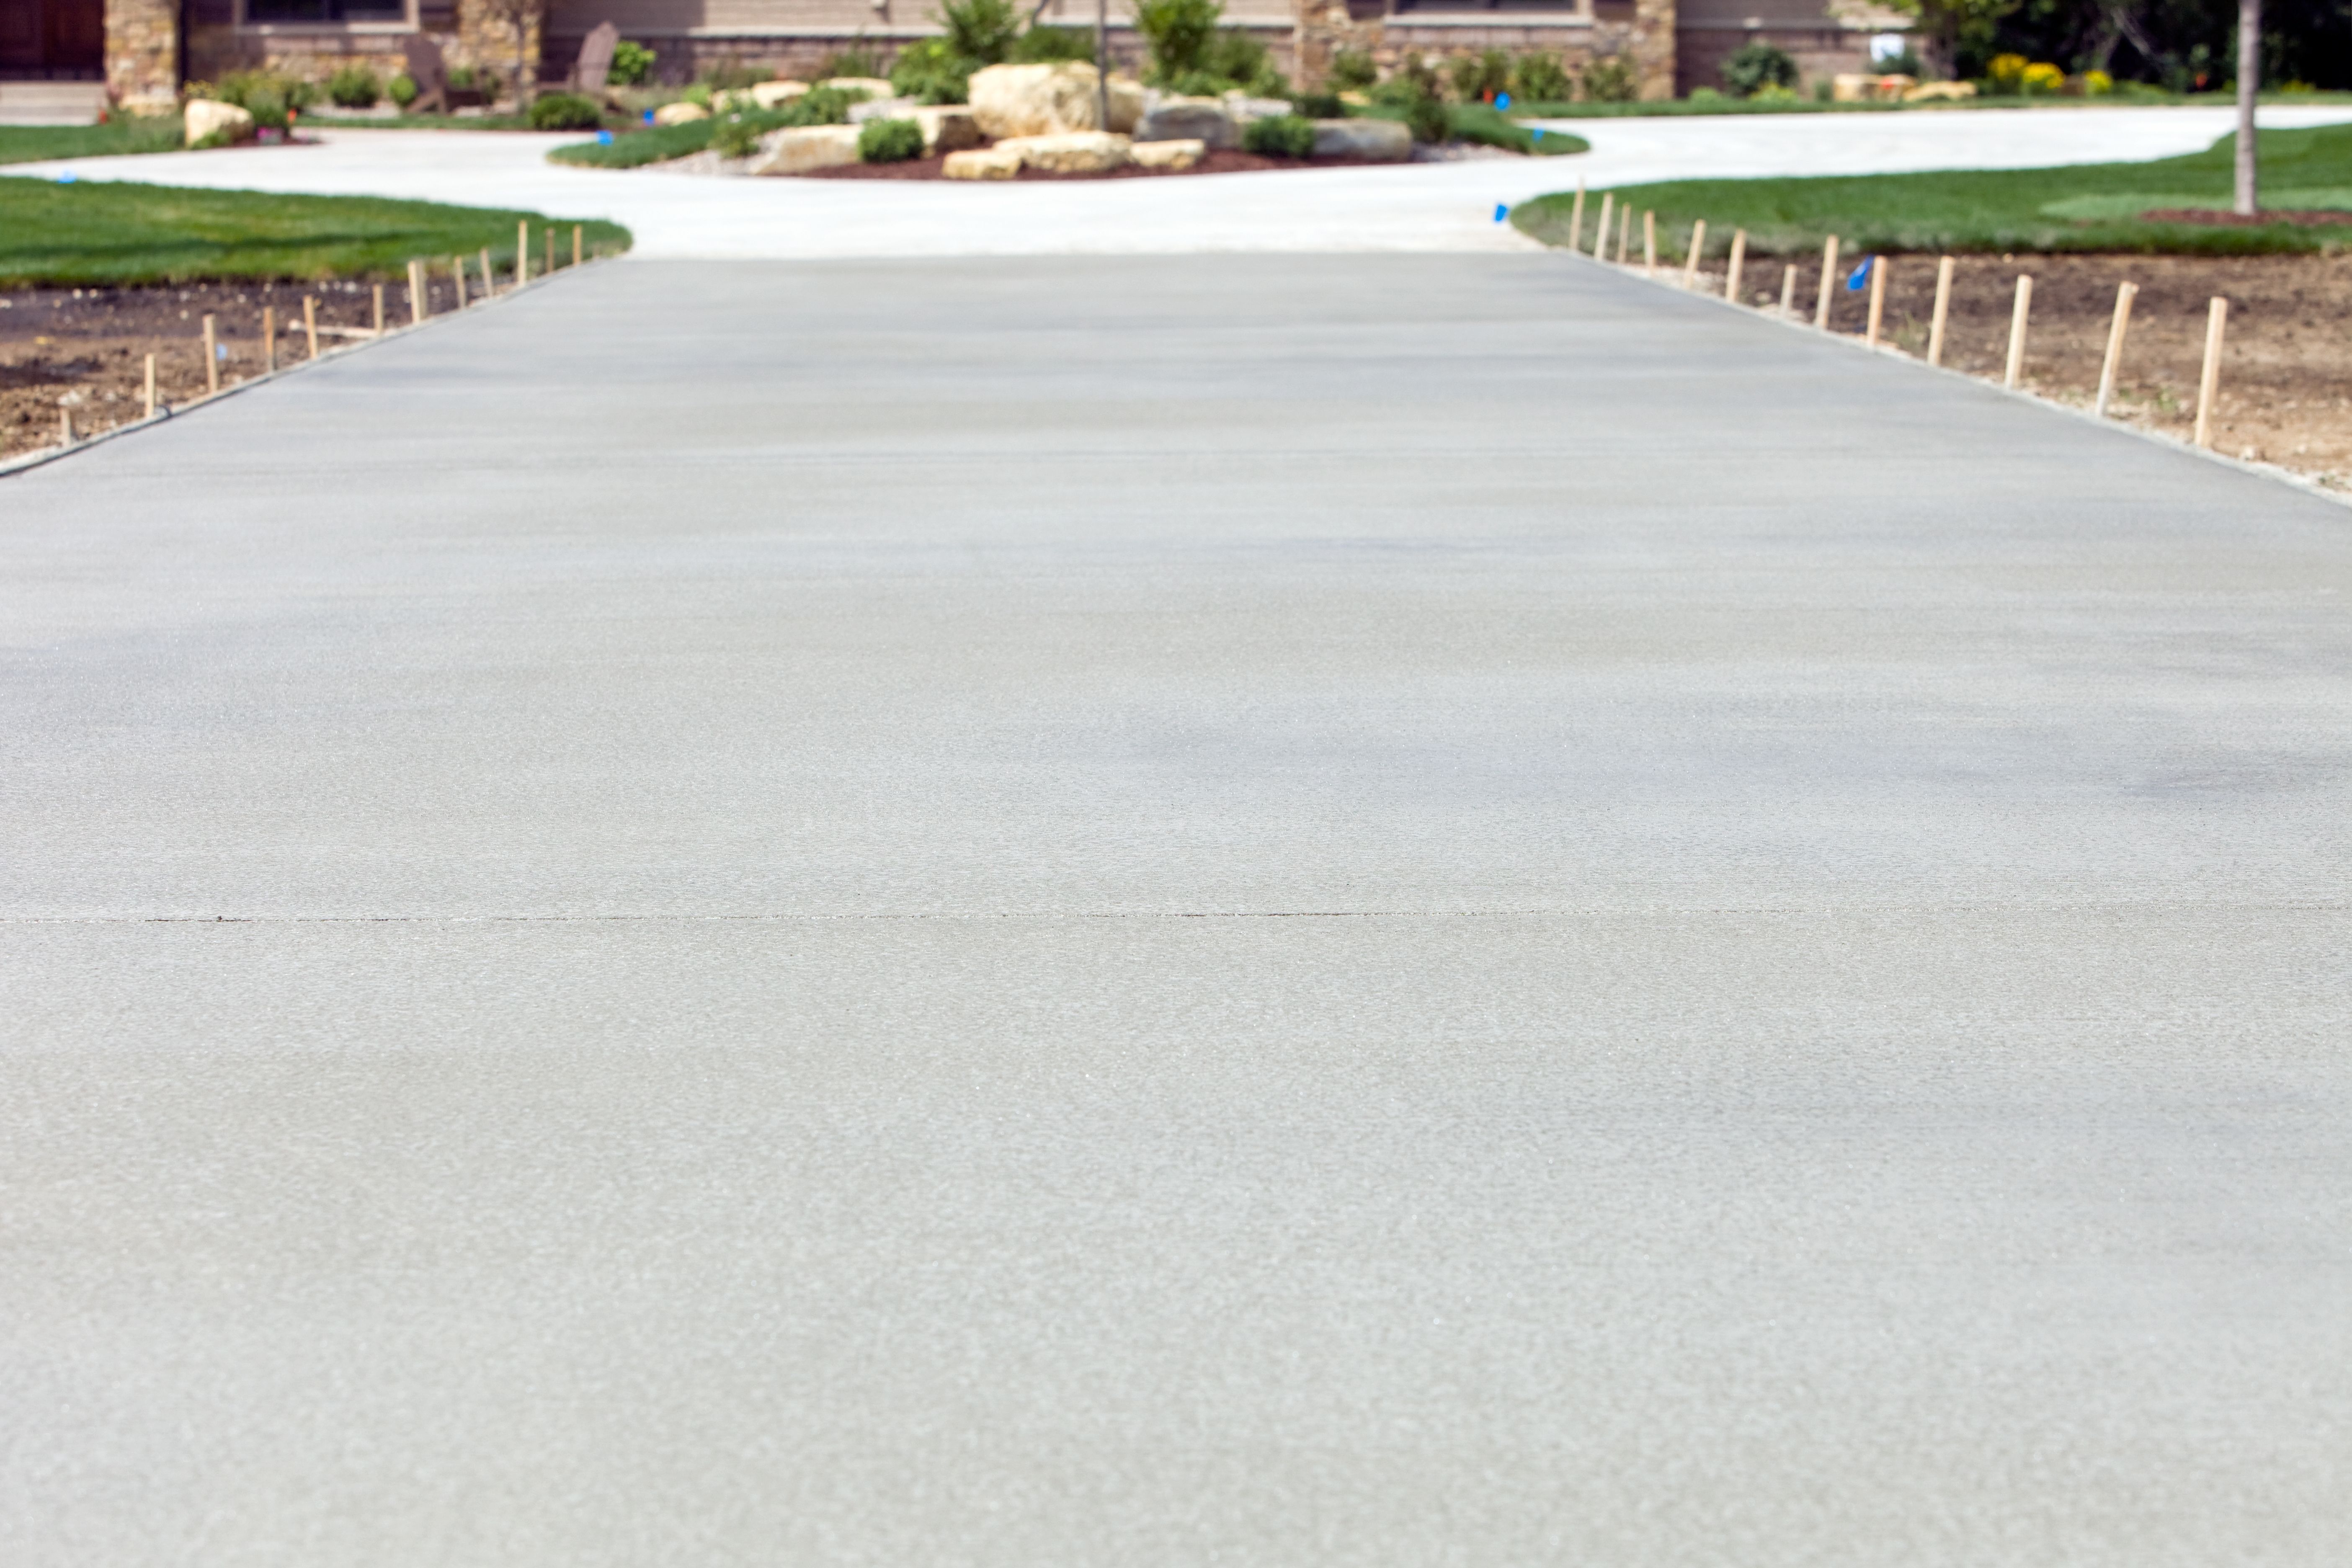
By taking these preventive measures, you can extend the life of your concrete surfaces and minimize the need for repairs down the line. With a little effort and know-how, maintaining your home's concrete can be both manageable and cost-effective.
When to Call in Professionals
While DIY repairs are feasible for minor issues, some situations warrant professional help. If you notice significant structural cracks or if your attempts at repair do not hold up, it's time to consult a specialist. Professionals have access to advanced materials and techniques that ensure long-term stability and safety.
In conclusion, while DIY concrete repair can be an accessible solution for homeowners in Ontario, knowing when to seek expert assistance is crucial. With the right balance of do-it-yourself skills and professional support, you can maintain your home’s concrete surfaces effectively.